Self-Hosted Bitbucket Integration
Use this guide when your organization runs Bitbucket Server or Bitbucket Data Center, such as https://bitbucket.yourcompany.com. If you do not have a GitMe account yet, start from GitMe Signup. If you already have an account, continue from GitMe Signin.
You can connect more than one Git integration in GitMe. Your workspace can include multiple providers at the same time, including cloud and self-hosted integrations.
If you need to connect additional self-hosted Bitbucket instances later, repeat this flow for each instance with the appropriate authorized admin.
Step 1 - Create an OAuth Application in Bitbucket
Required: Administrator access to your Bitbucket Server or Data Center instance.
Bitbucket terminology can differ by version. The OAuth application may appear under Administration > Applications > OAuth, Application Links, or an OAuth 2.0 settings area.
- Log in to your Bitbucket instance.
- Open the OAuth application settings.
- Create a new OAuth application.
- Fill in the form:
-
Application Name:
GitMe Performance Tracking -
Redirect URI / Callback URL:
https://backend.gitdotme.com/self-hosted-integrations/bitbucket/callback -
Permissions / Scopes: Give GitMe read access to projects and repositories. The minimum scope used by GitMe is:
REPO_READ
-
- Save the application.
- Copy the Client ID and Client Secret. You will need them in GitMe.
The Redirect URI must match exactly. If Bitbucket rejects the authorization request, check that the callback URL in Bitbucket is exactly:
https://backend.gitdotme.com/self-hosted-integrations/bitbucket/callback
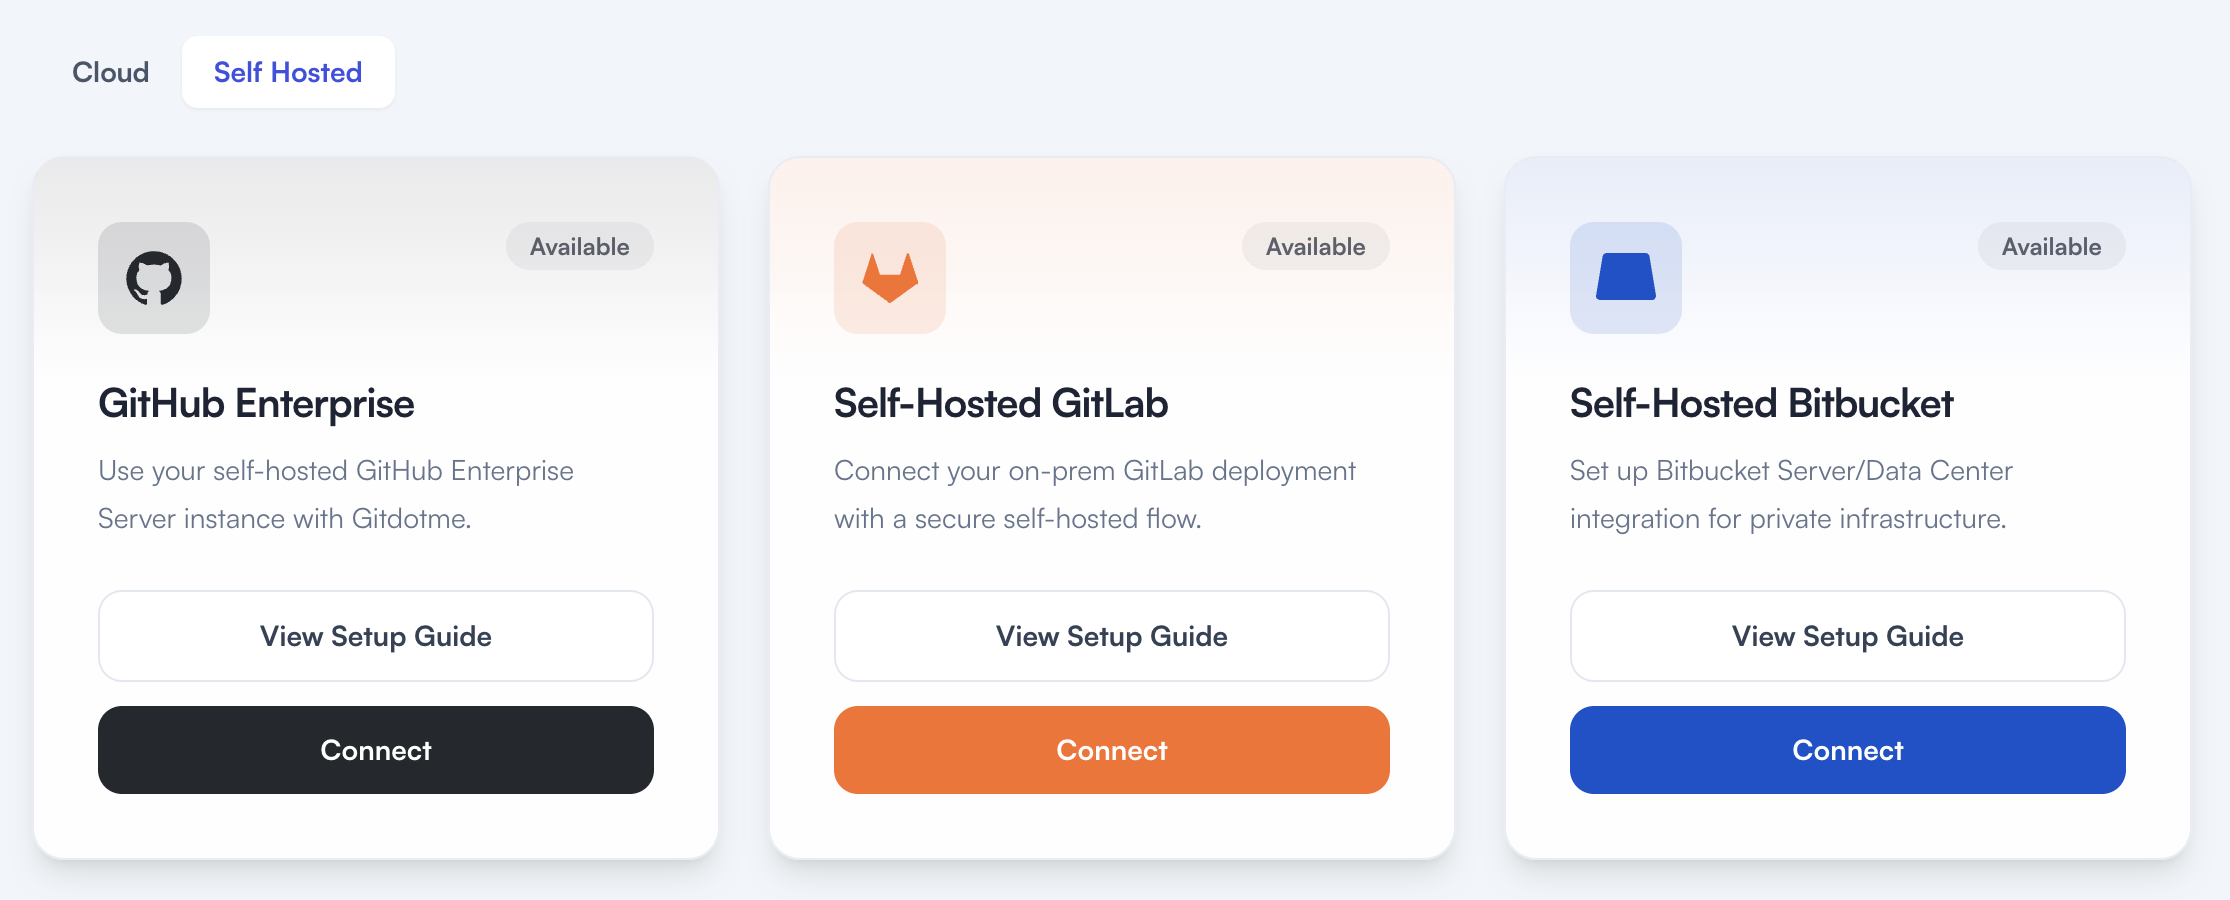
Step 2 - Open the Self Hosted Integration Card
- Open GitMe.
- Go to Account Settings > Integrations.
- Select the Self Hosted tab.
- Find Self-Hosted Bitbucket.
- Use View Setup Guide if you need to return to this page.
- Click Connect.
GitMe will ask you to confirm that you already created the OAuth application on your Git server. Check the confirmation box, then continue.
If another authorized admin needs to complete setup, send the invite from Settings > Invite User and assign the Account Admin role first.
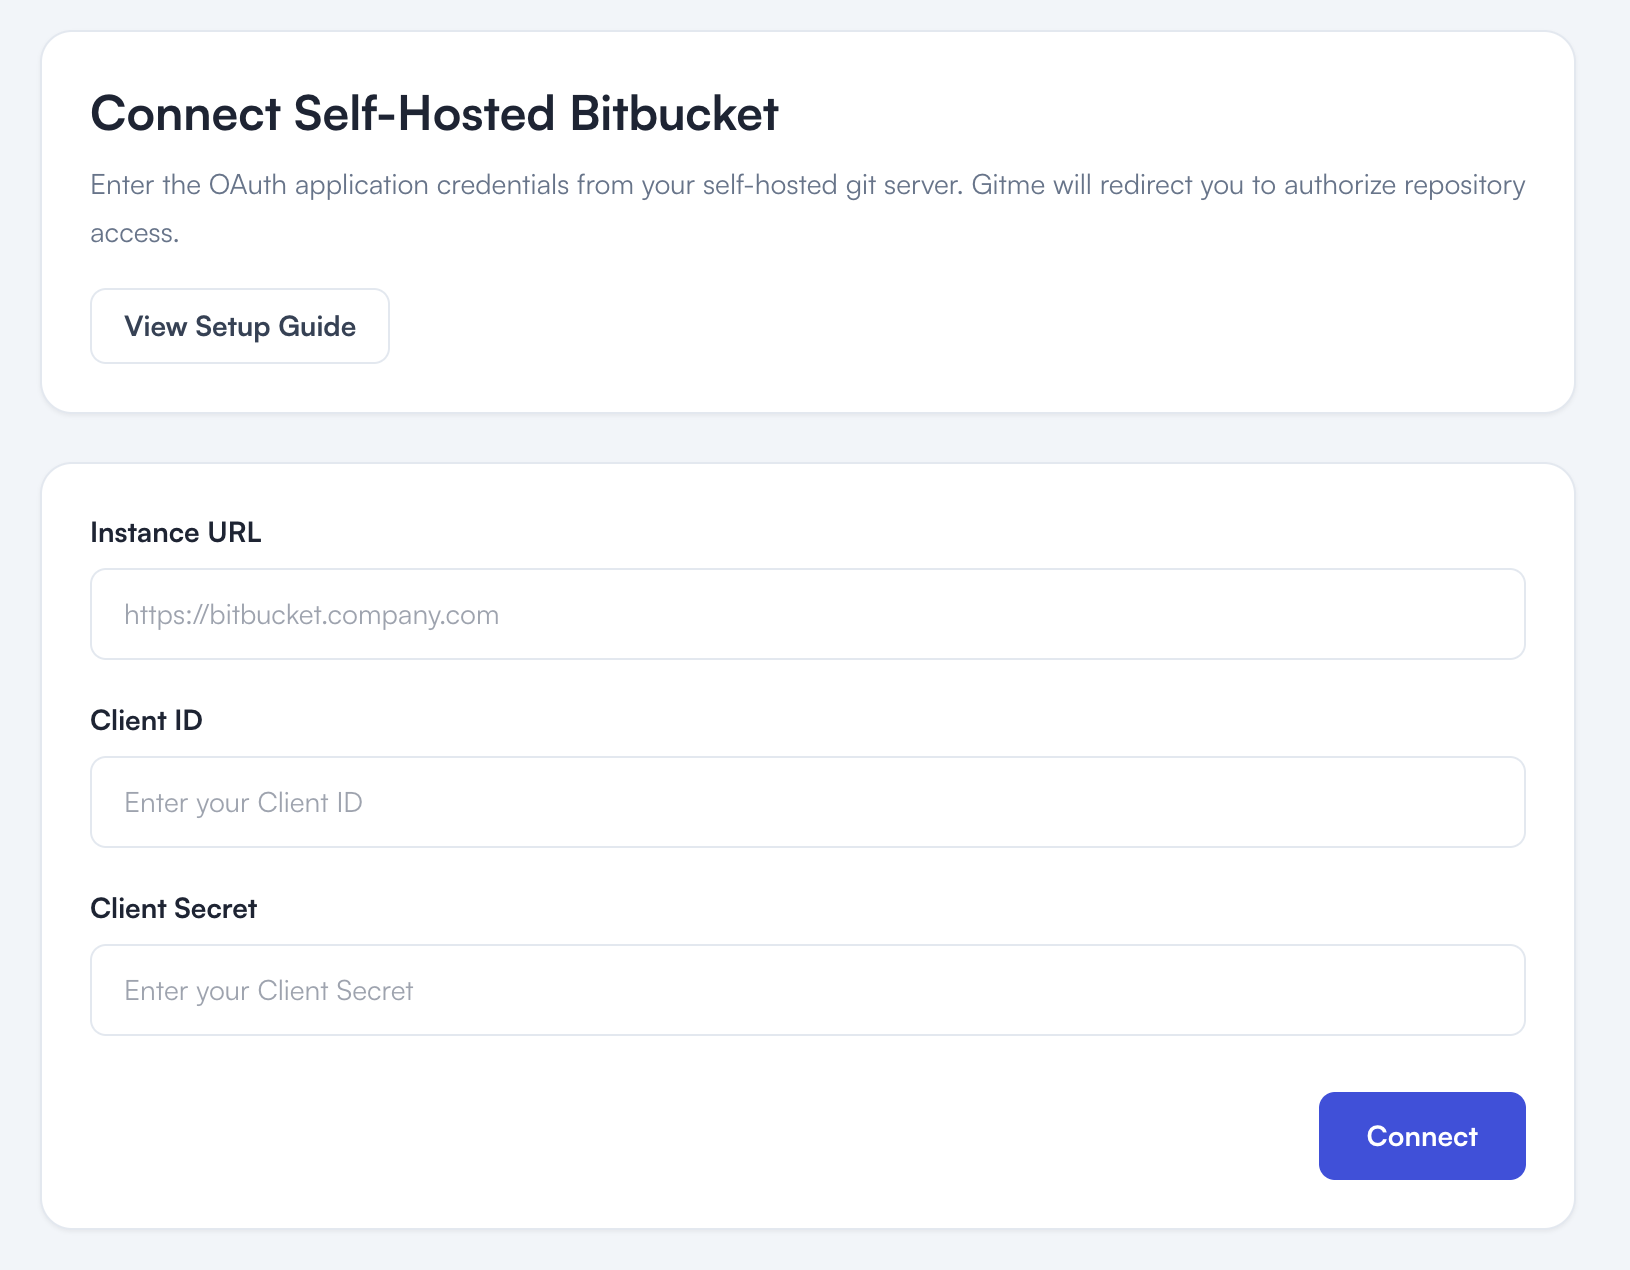
Step 3 - Enter Your Bitbucket OAuth Credentials
On the GitMe connection screen, enter:
- Instance URL: Your Bitbucket base URL, for example
https://bitbucket.yourcompany.com - Client ID: The Client ID from Bitbucket
- Client Secret: The Client Secret from Bitbucket
Click Connect.
GitMe stores the OAuth client secret and OAuth tokens securely.
Step 4 - Authorize GitMe in Bitbucket
After clicking Connect, GitMe redirects you to your Bitbucket authorization page.
- Review the requested access.
- Click Grant access or Authorize, depending on your Bitbucket version.
Step 5 - Finish Configuration in GitMe
After successful authorization, Bitbucket redirects you back to GitMe. GitMe creates the self-hosted Bitbucket connection and sends you to:
/settings/plan-configuration?integration=connected
You can also open the page directly from Settings > Plan Configuration.
Choose or confirm your plan configuration. GitMe will use the authorized Bitbucket access to discover repositories that the connected Bitbucket user can read.
After plan selection, complete billing setup from Settings > Billing & Payment.
Network Access Requirements
To successfully integrate self-hosted Bitbucket Server or Data Center with GitMe, the following network requirements must be met:
- Your Bitbucket Server or Data Center instance must be reachable by GitMe cloud services over HTTPS.
- For example:
https://bitbucket.yourcompany.com
- For example:
- GitMe cloud services must be able to access your Bitbucket OAuth and API endpoints over the internet.
- OAuth token endpoint:
https://bitbucket.yourcompany.com/rest/oauth2/latest/token - API endpoint example:
https://bitbucket.yourcompany.com/rest/api/1.0/
- OAuth token endpoint:
- Your Bitbucket OAuth application must use the following callback URL:
https://backend.gitdotme.com/self-hosted-integrations/bitbucket/callback
- The admin completing the setup must be able to access both GitMe and your Bitbucket instance from their browser.
- If your Bitbucket instance is not accessible to GitMe cloud services over HTTPS, the integration cannot be completed.
You're All Set
Your self-hosted Bitbucket integration setup is complete. GitMe can now start syncing the repositories available through the authorized connection so you can continue with your workspace setup and begin using GitMe analytics.
GitMe standardly starts analysis from the beginning of the month in which your workspace was set up. If you need older commit history to be analyzed as well, see the Historical Analysis documentation.