Getting set up
Step 1: Create Your Tags
Tags let you flexibly group developers, projects, or repositories by any dimension that matters to your organization—such as teams, roles, seniority, or technology stack.
How to Create a Tag
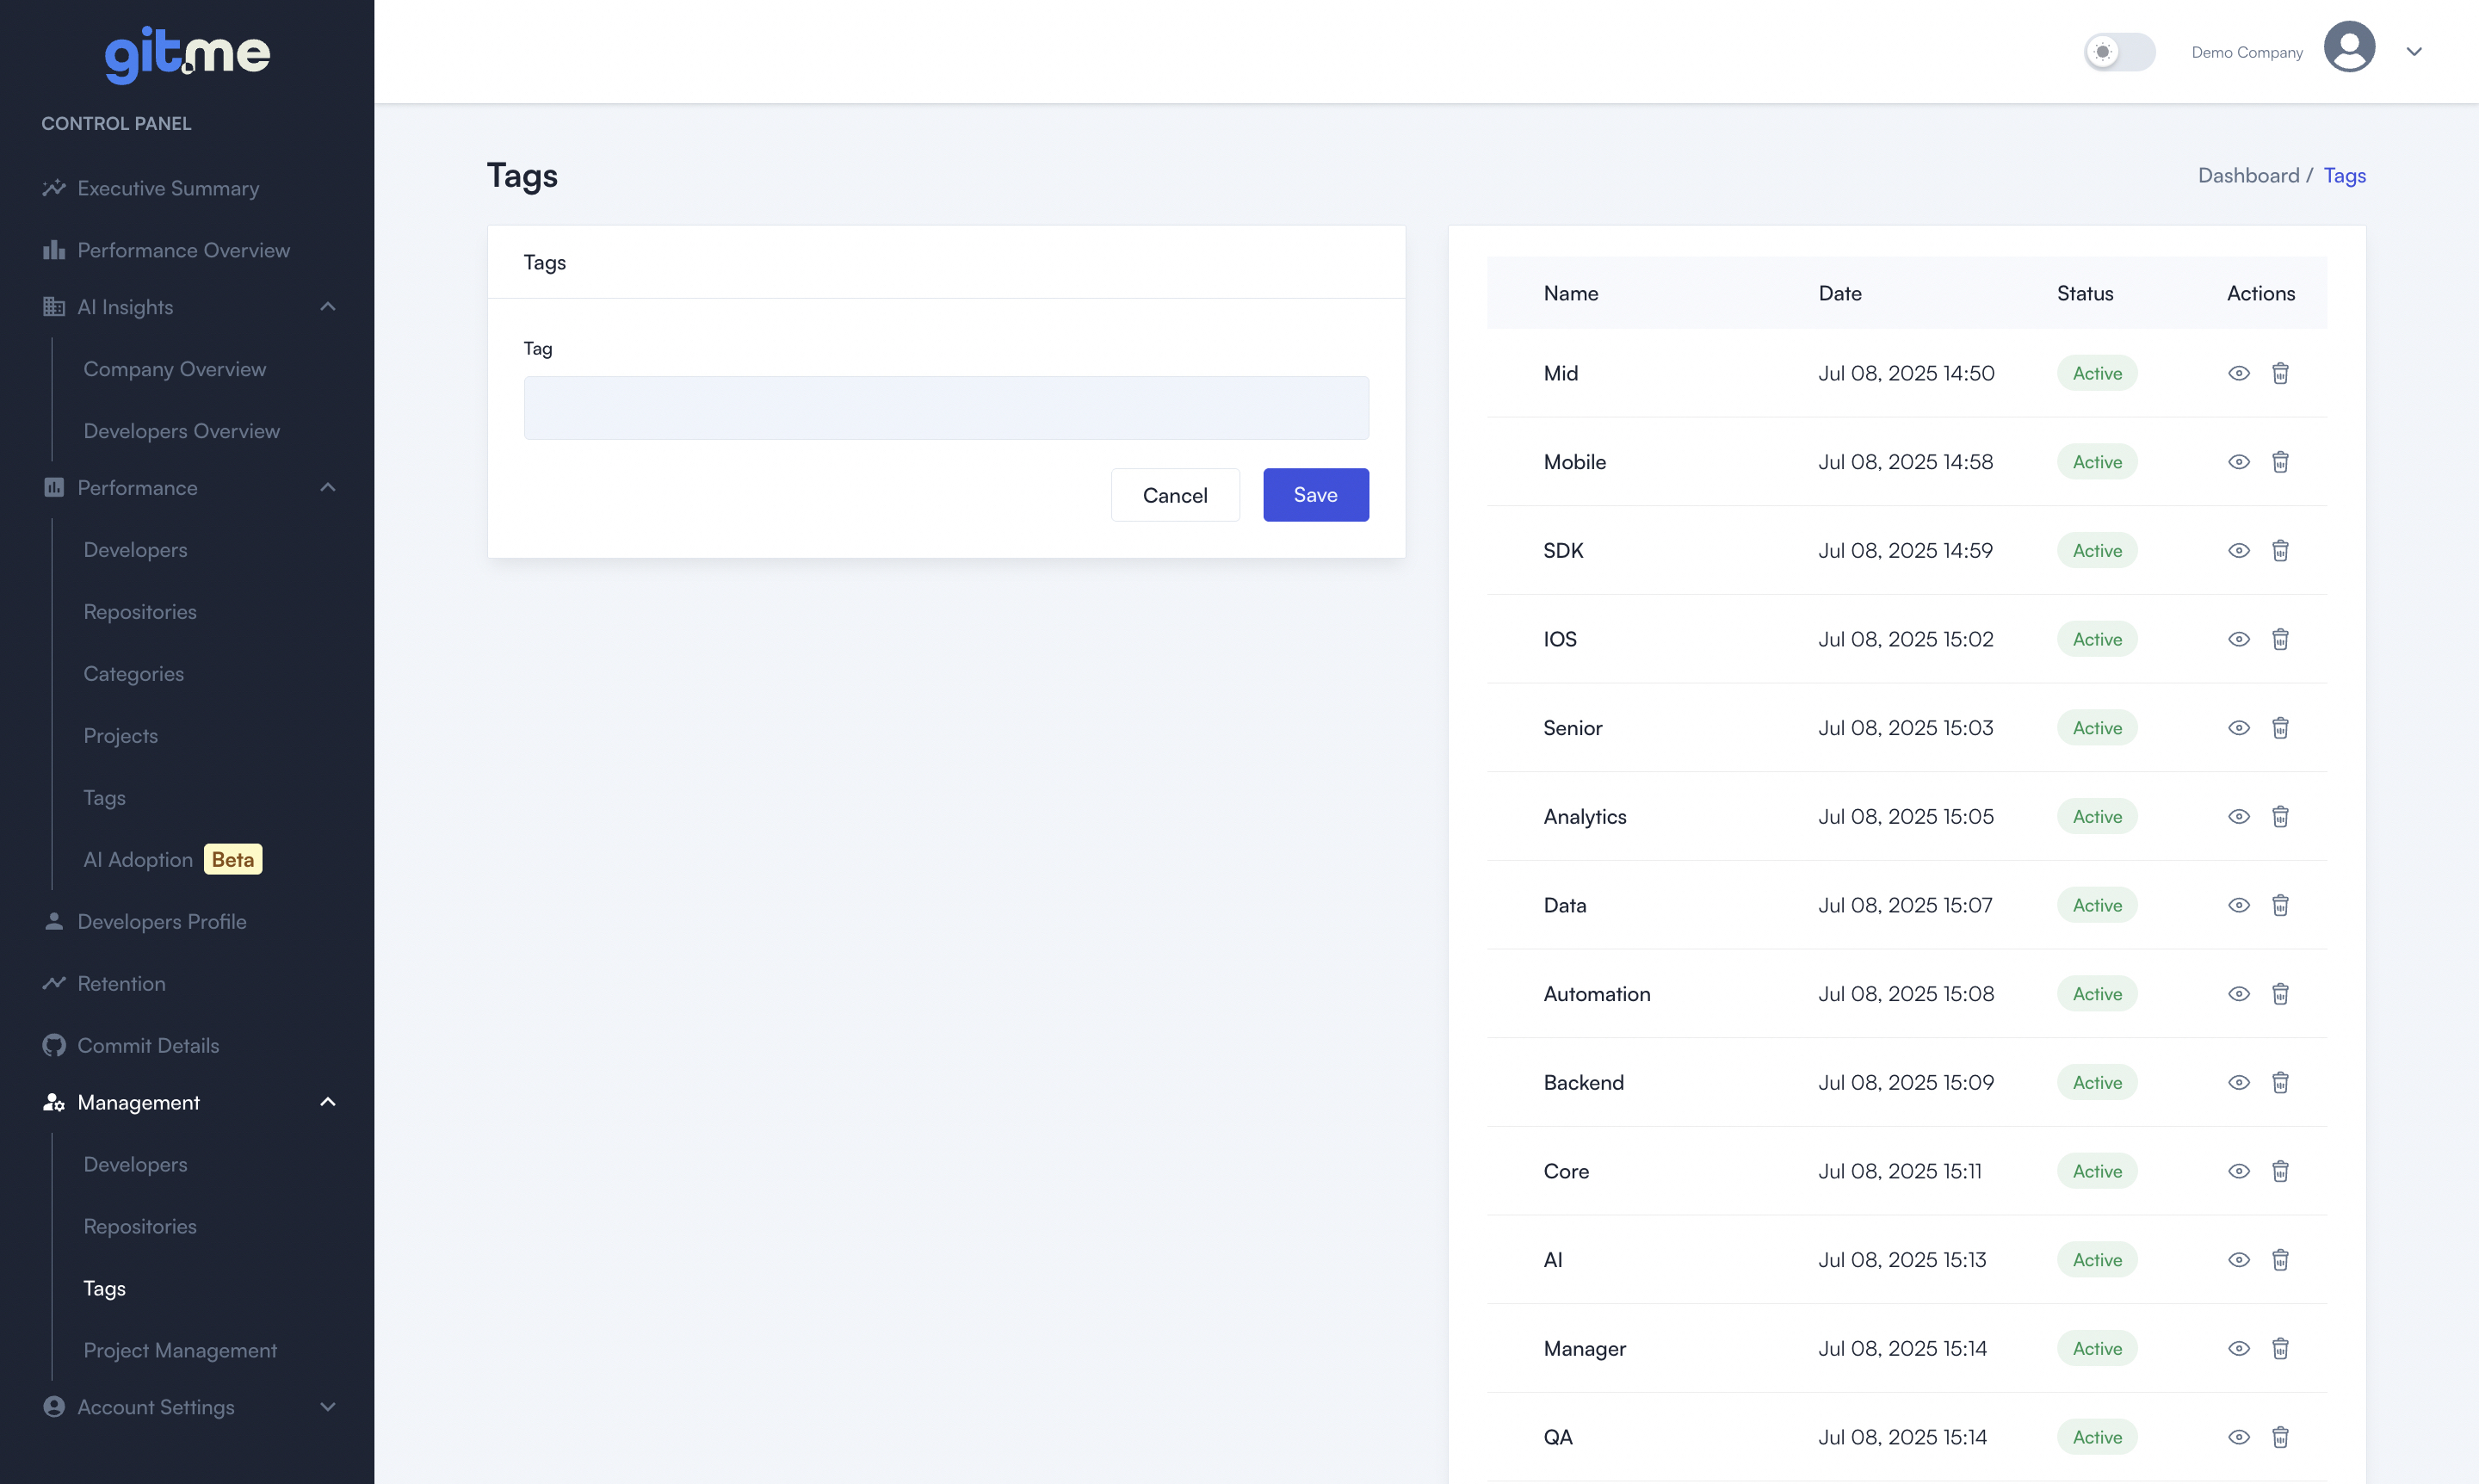
- Navigate to the Tags section
From the left sidebar, go to Management and select Tags. - Add a new tag
- Enter the name of your tag in the input box (e.g., “Frontend”, “Backend”, “DevOps”, “Junior”, “React”).
- Click the Save button.
- View and manage your tags
- Newly created tags will appear in the list on the right, along with their status and creation date.
- You can view, edit, or delete tags at any time using the icons next to each tag.
Tips
- Use tags to organize your team structure, areas of expertise, project domains, or any custom group.
- Tags can be assigned to developers and repositories later, making reporting and analytics more meaningful.
Step 2: Merge Duplicate Developers
Developers may contribute using multiple email addresses—especially if they use different Git accounts or commit with different identities. To ensure their work is tracked accurately, you can merge duplicate developer entries into a single profile.
How to Merge Developers
- Go to the Developers section
From the sidebar, select Settings > Developers. - Select duplicate entries
- Find the developer profiles you want to merge.
- Click the checkbox next to each relevant entry.
(You can search by name or email to quickly locate duplicates.)
- Click the “Merge” button
- After selecting two or more developer entries, the green Merge button will become active at the top.
- Make sure and click Merge (X) (where X is the number of selected profiles).
Step 3: Assign Tags to Developers
Tags allow you to group and filter developers by team, expertise, role, or any dimension you need. Assigning tags will make your analytics more meaningful and let you compare performance across custom groups.
How to Assign Tags
- Go to the Developers section
From the sidebar, click Settings and then Developers. - Edit a developer
- Find the developer you want to tag.
- Click the pencil/edit icon in the Actions column for that developer.
- Add or update tags
- In the edit dialog, select one or more tags from the list, or start typing to search.
- You can assign multiple tags (e.g., “Frontend”, “DevOps”, “Senior”) to a single developer.
- Tags can reflect teams, seniority, technology, or any structure that fits your organization.
- Save your changes
- Click Update Developer to save the assigned tags.
- View assigned tags
- The assigned tags will now be visible in the developer list under the Tags column.
Tips
- Use tags consistently for easier grouping and reporting (e.g., always use “Backend” instead of variations like “Back-end”).
- You can use the search bar to quickly find developers by name or email.
- Tags can be updated or removed anytime as your team evolves.
Step 4: Organize Your Projects
Project management lets you group related repositories under unified project names, so you can track and analyze development activity at the project level—whether it’s by product, domain, or business initiative.
How to Organize Projects
- Go to Project Management
From the sidebar, select Settings and then Project Management. - Create a new project
- Enter a project name in the input field (e.g., “Frontend”, “Backend”, “Analysis”, “Mobile App”).
- Click the Add Project button.
- Your new project will appear as a box in the interface.
- Assign repositories to projects
- Each box represents a project. Inside each box, you’ll see the repositories currently grouped under that project.
- To move a repository between projects, drag and drop it into the desired project box.
- To rename a repository, simply click on its name and edit directly.
- Reorganize as needed
- You can add, rename, or remove projects anytime.
- Repositories can be moved freely between projects to reflect your team’s evolving structure.
Note:
Newly authorized repositories will appear under the Default project by default.
Whenever you add a new repository, simply drag and drop it from the Default project box into the relevant project to keep your workspace organized.