Historical Analysis
GitMe starts analyzing your repositories from the beginning of the month in which your setup was completed. If you want GitMe to analyze older commit history as well, you can request a one-time historical backfill from Settings > Historical Analysis.
Before you start
- Historical analysis is optional and is not included automatically in standard setup.
- GitMe first prepares an estimate for the selected period.
- No payment is charged when you submit the request.
- The final amount is charged only after you review and approve the estimate.
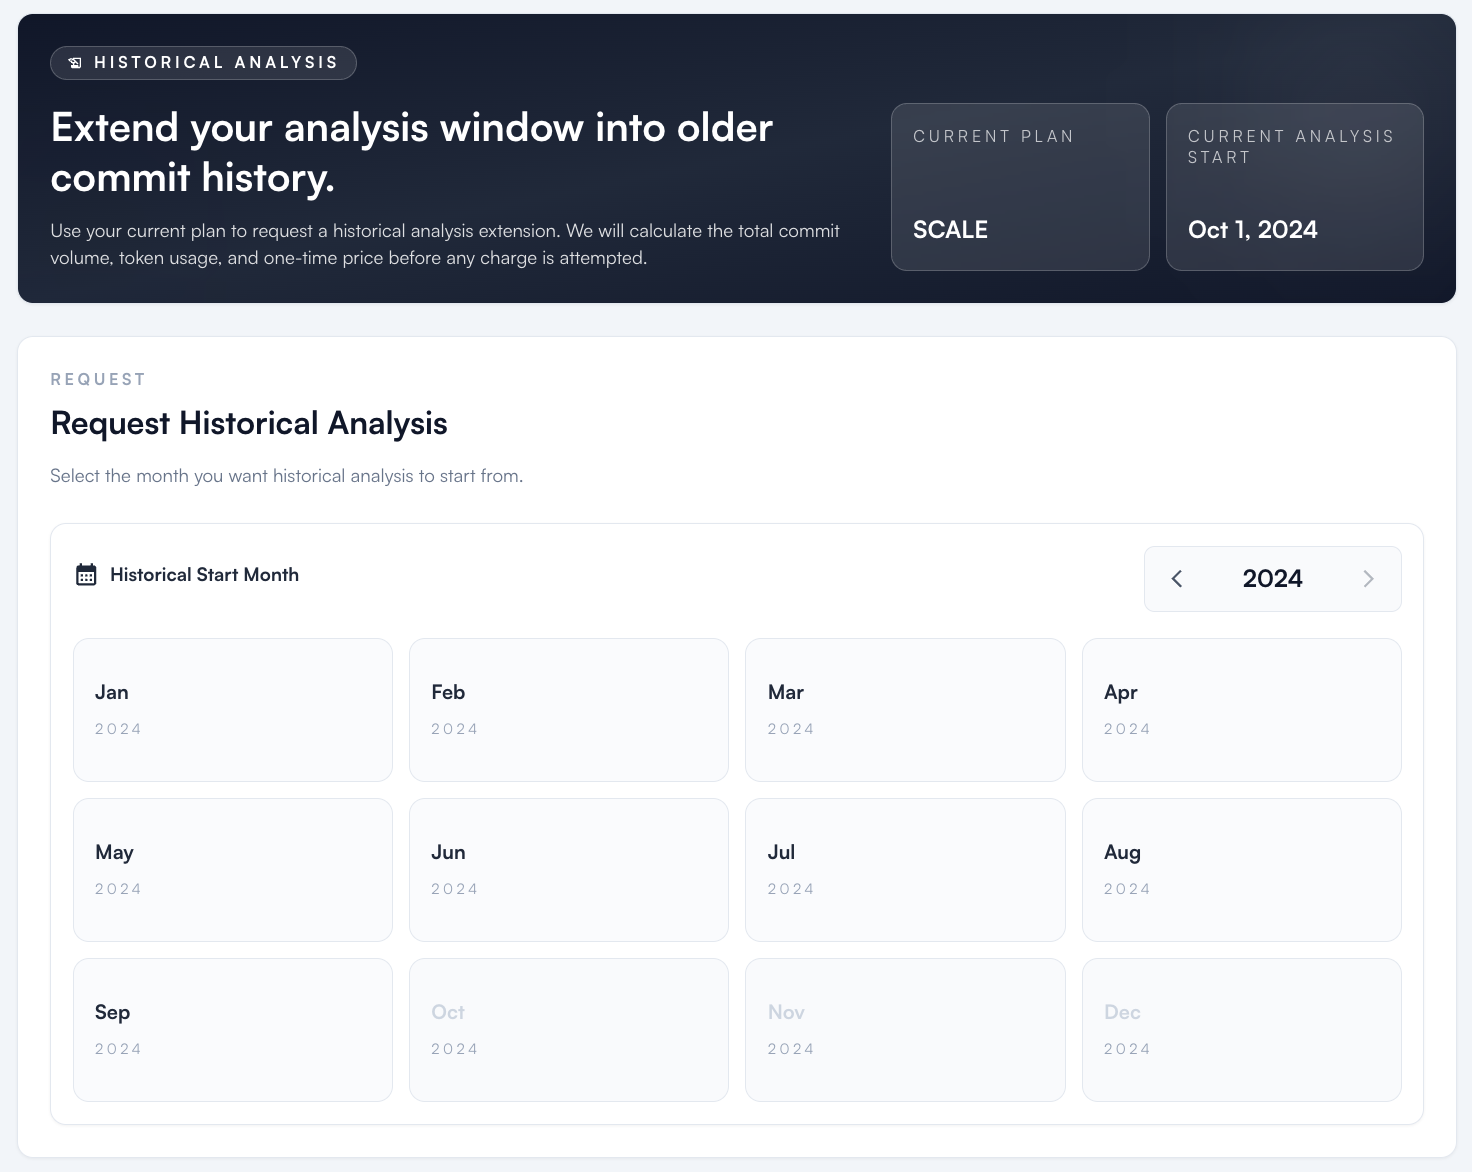
Step 1 - Open the Historical Analysis page
- Sign in to GitMe from GitMe Signin.
- Open Settings > Historical Analysis.
- On this page, GitMe shows your current plan and the current analysis start date for your workspace.
Step 2 - Select the month you want analysis to start from
- Choose the historical start month you want GitMe to backfill.
- GitMe uses this selection to calculate the requested historical range.
- The summary panel helps you confirm which month you are requesting before any estimate is generated.
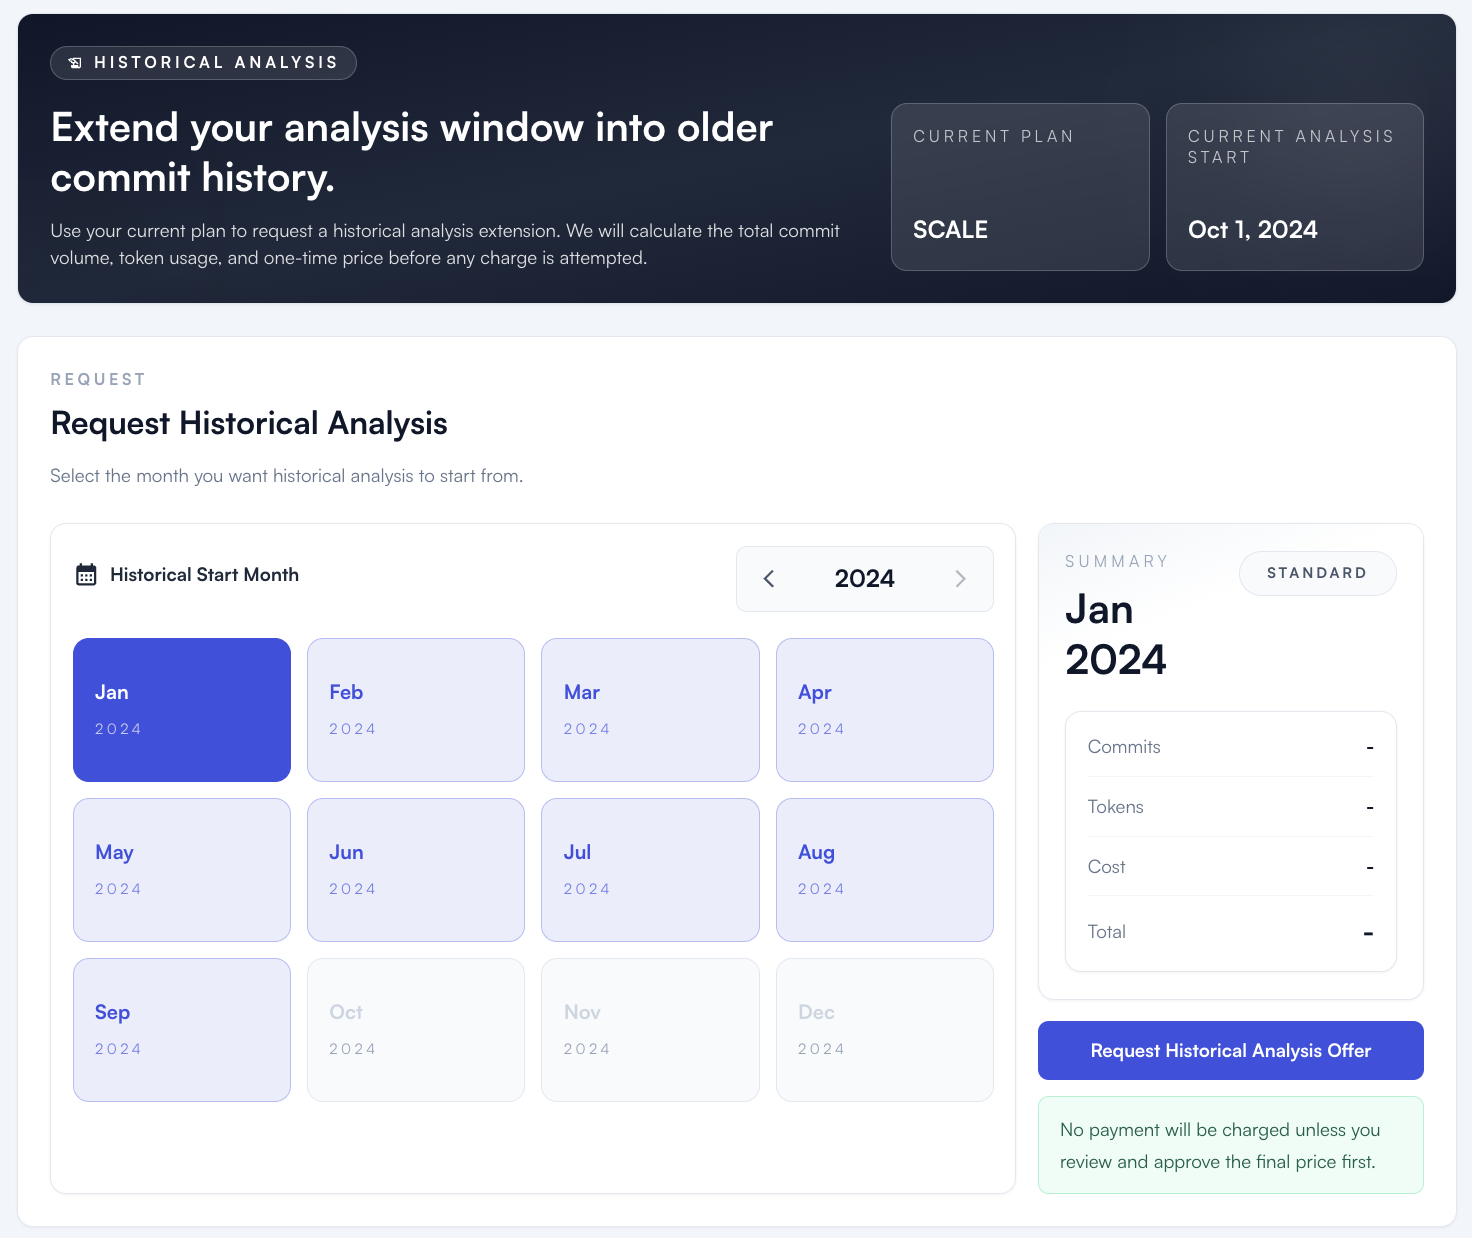
Step 3 - Request the estimate
- Click Request Historical Analysis Offer.
- GitMe automatically calculates the total commit volume, token usage, and one-time historical analysis price for the selected range.
- The estimate is usually prepared within a few minutes.
No payment is charged yet
Submitting the request only creates the estimate. GitMe does not charge your card until you review and approve the final price.
Step 4 - Review the prepared estimate
- Once the estimate is ready, GitMe shows the requested date range, expiration date, total commits, total tokens, and the one-time price.
- GitMe also sends the prepared estimate to the relevant email addresses so the customer can review it outside the panel as well.
- If needed, you can refresh or delete the request before approving it.
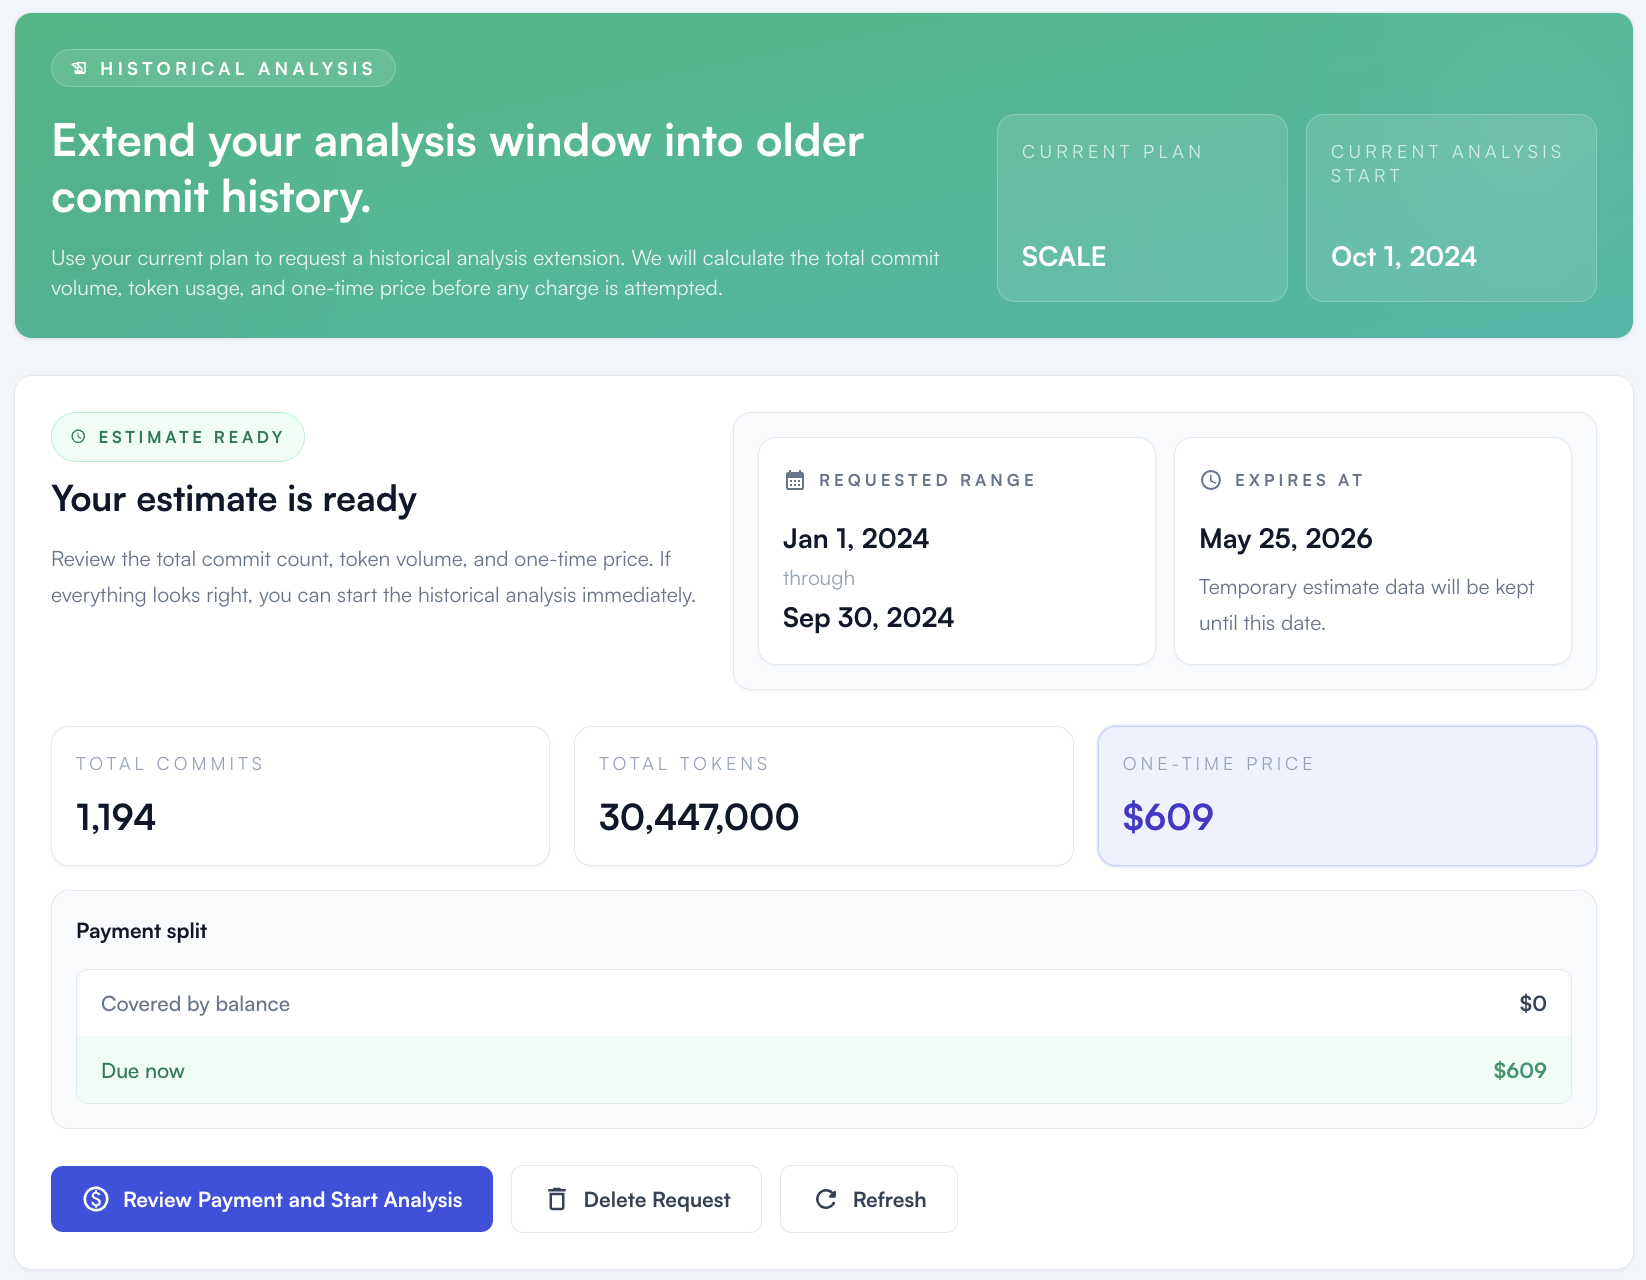
Step 5 - Approve payment and start analysis
- Review the final price and payment split carefully.
- When you are ready, click Review Payment and Start Analysis.
- After approval, GitMe charges the due amount from your saved payment method and starts the historical analysis.
- If your workspace does not have a payment method yet, add one first from Settings > Billing & Payment.
What happens next?
- GitMe begins processing the approved historical range.
- The historical backfill is a one-time extension to your analysis window.
- Once processing is complete, the older commit data becomes available in your GitMe analytics views.
You're All Set
Your historical analysis request flow is complete. After the estimate is approved and payment is captured, GitMe will start extending your analysis window into the older commit history you selected.